
As the (somewhat) happy owner of a new-to-me 99 L with 148,000 on the clock, I'm at a crossroads. The car had a slight knock at idle when I test drove it, but it wasn't consistent. I noticed the dealer overfilled the oil with God only knows what viscosity. Given the otherwise excellent condition of the car, I purchased it knowing a surprise may wait for me.
Lo and behold, I've put about 150 miles on the car and tried to Seafoam the oil and the gasoline...let's not discuss this here, though. Suffice it to say the knock is still there, and it seems like it might be becoming more common place. I've also noticed a smoke cloud coming from the engine bay when starting in the AM and found a few oil drops on the ground. Lastly, my idle has developed a lope and the engine struggles and surges a bit when climbing hills in high gear on the highway. Long story short, this reminds me of a bad head gasket - I've been here before. Knowing the propensity of these gaskets to fail, I think I know where I stand.
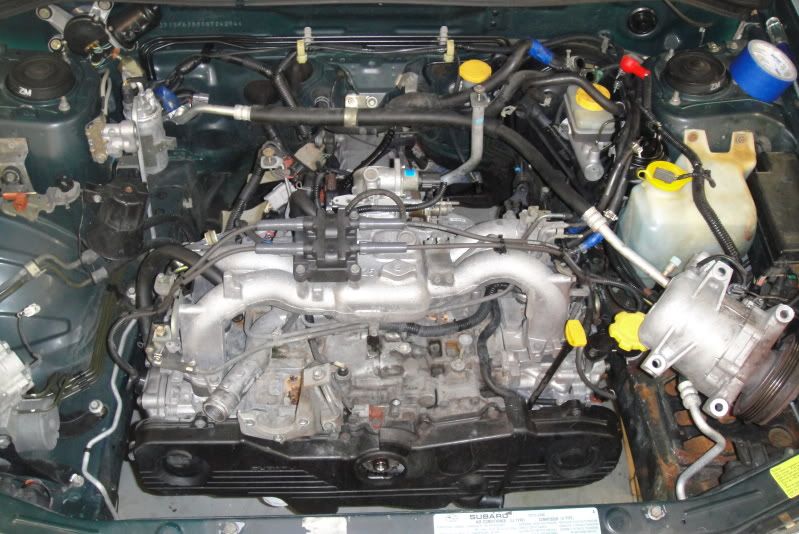
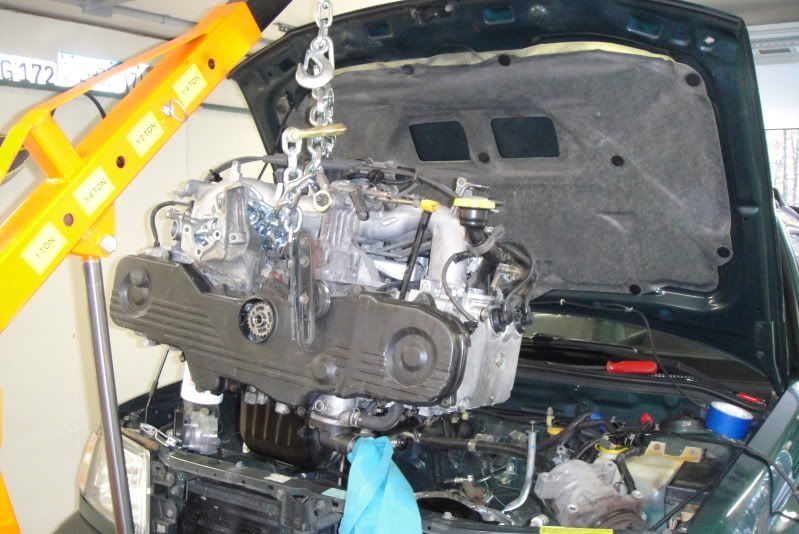
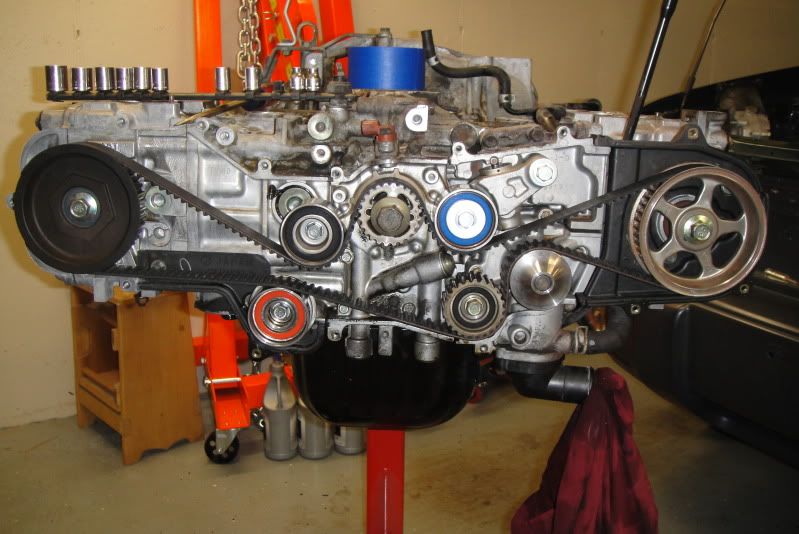
I'm going to go get under the car this afternoon to change the oil and inspect things. However, I'm not expecting an easy fix and know it will probably require major disassembly. Based on some quick internet searches, I am in the ballpark of $450 for a head gasket job, not accounting for possible machine work, other issues, etc. This estimate was for a gasket overhaul kit, Cometic head gaskets, head bolts, and some other gaskets. My timing belt is only 10k old, so that is good enough. Now, I also have some new engine mounts to put in since these are shot. So I may as well take the engine out to get this stuff done - not that I have to, though.
The twist here is that I found a place selling rebuilt longblocks for about $1600. Engine has new pistons, rings, upgraded head gaskets, oil pump, bearings, freeze plugs, rebuilt heads, and gasket set. Clearly, this cost is about 3-4 times the head gasket job. However, the rest of the car is in great condition for its age. Having a nice engine in the car, despite future ancillary/accessory failures, will make a nice daily driver for another 10 years or so.
So really, talk me out of buying a new (rebuilt) long block. I keep getting stuck on the fact that the current mill has 150k on the clock and knocks/piston slaps already. I'd hate to go down this road again in the future, or worse, abandon the car with such a clean exterior/interior. I really like this car.
Am I crazy?
Lo and behold, I've put about 150 miles on the car and tried to Seafoam the oil and the gasoline...let's not discuss this here, though. Suffice it to say the knock is still there, and it seems like it might be becoming more common place. I've also noticed a smoke cloud coming from the engine bay when starting in the AM and found a few oil drops on the ground. Lastly, my idle has developed a lope and the engine struggles and surges a bit when climbing hills in high gear on the highway. Long story short, this reminds me of a bad head gasket - I've been here before. Knowing the propensity of these gaskets to fail, I think I know where I stand.
I'm going to go get under the car this afternoon to change the oil and inspect things. However, I'm not expecting an easy fix and know it will probably require major disassembly. Based on some quick internet searches, I am in the ballpark of $450 for a head gasket job, not accounting for possible machine work, other issues, etc. This estimate was for a gasket overhaul kit, Cometic head gaskets, head bolts, and some other gaskets. My timing belt is only 10k old, so that is good enough. Now, I also have some new engine mounts to put in since these are shot. So I may as well take the engine out to get this stuff done - not that I have to, though.
The twist here is that I found a place selling rebuilt longblocks for about $1600. Engine has new pistons, rings, upgraded head gaskets, oil pump, bearings, freeze plugs, rebuilt heads, and gasket set. Clearly, this cost is about 3-4 times the head gasket job. However, the rest of the car is in great condition for its age. Having a nice engine in the car, despite future ancillary/accessory failures, will make a nice daily driver for another 10 years or so.
So really, talk me out of buying a new (rebuilt) long block. I keep getting stuck on the fact that the current mill has 150k on the clock and knocks/piston slaps already. I'd hate to go down this road again in the future, or worse, abandon the car with such a clean exterior/interior. I really like this car.
Am I crazy?