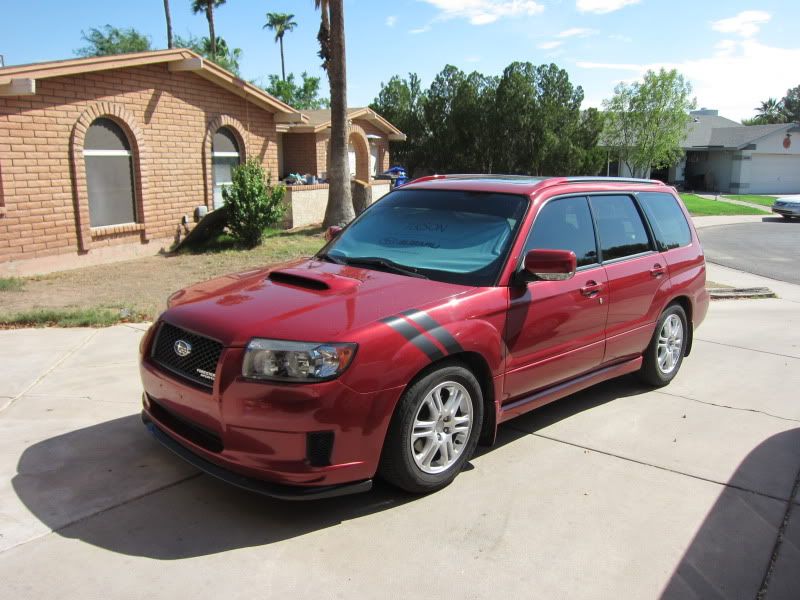

This will be my tale of taking my 2008 Forester XT Sports from a pretty much stock car too a STI forester (in my eyes)
Mods that will be going into the car (as of right now 10/5)
Motor:
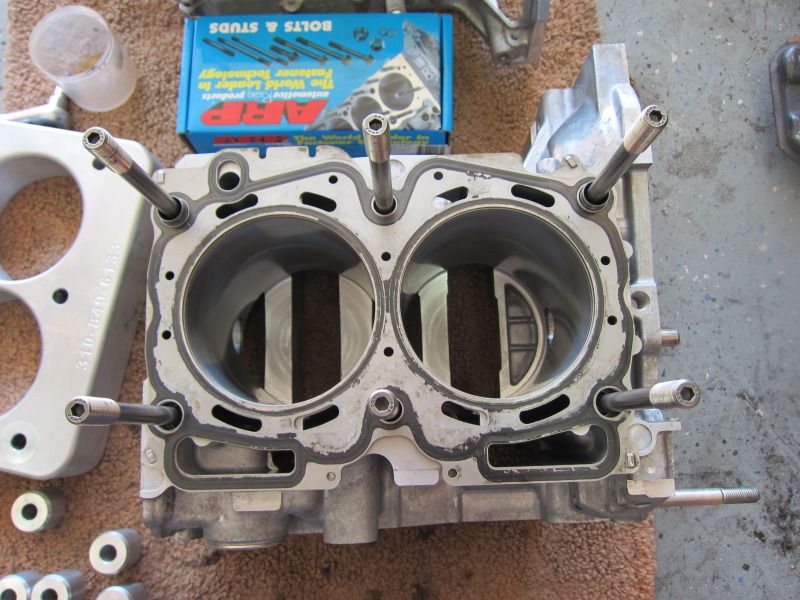
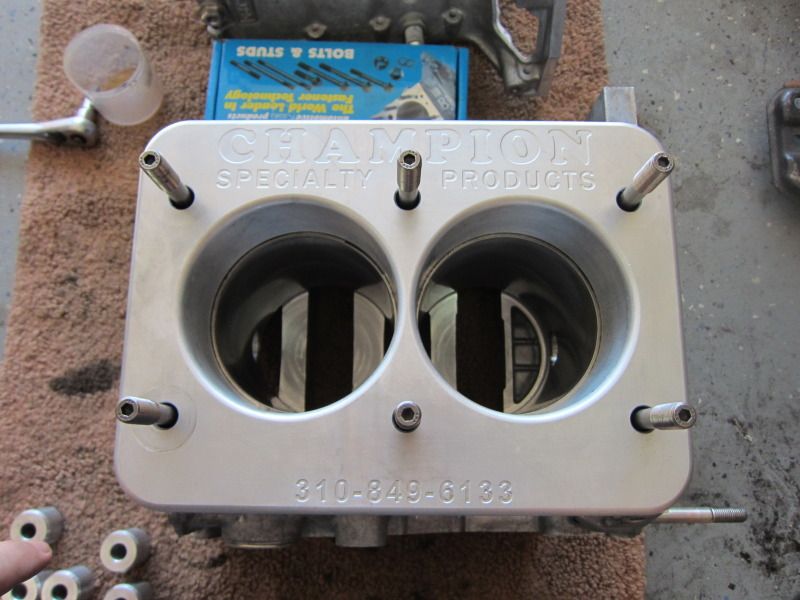
Built SB (balanced crank,balanced Manley rods, Manley pistons, King race bearing)
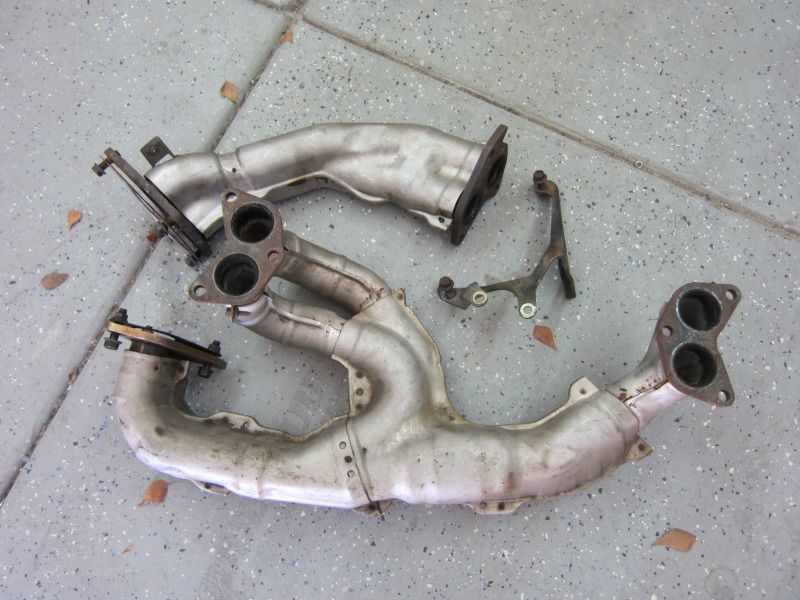
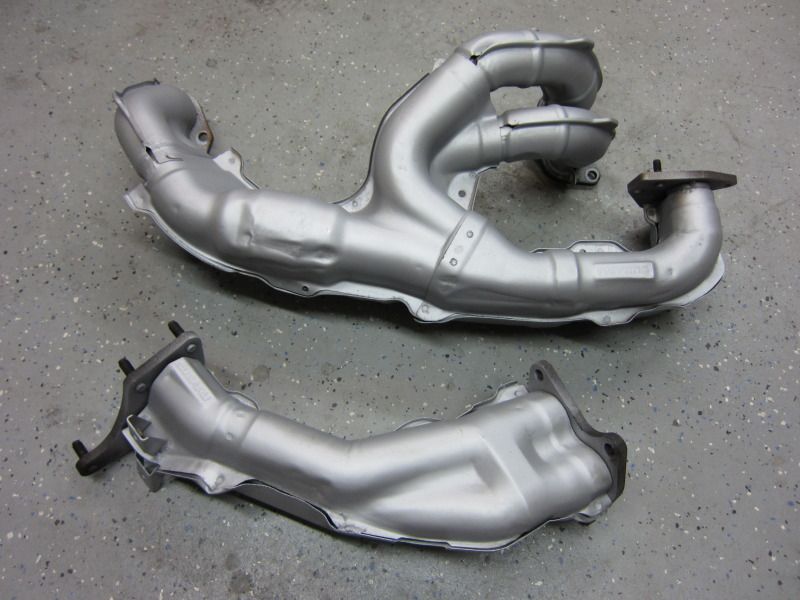
JDM Twin scroll Header/up-pipe
Kinugawa 18g billet wheel Twin Scroll turbo
HOA 3 port boost solenoid
Walbro fuel pump
ARP Head studs
ID1000s
Walbro 255 pump
Coswoorth timing belt guide
Gates racing timing belt/kit
2011 STI TMIC
SPT turbo heat shield (if it works over the TS setup)
Kartboy Crank pulley
Mishimoto Alum radiator (wrx/sti spec)
Mishimoto Slim Fans
Mishimoto Radiator Hoses
Mishimoto TMIC Hoses
Megan Racing/Group-N Engine mounts
Moroso Oil pick-up tube
Motive Autowerks TGV deletes
Perrin Turbo Inlet (worst fitting thing on my car)
Kinugawa/Invidia custom Twin scroll Downpipe (Done by Kent at Precision Chassis Works)
Custom Catback exhaust with a 5" round Magnaflow muffler in midpipe and 18" oval Magnaflow, with all V-band clamps (Done by Kent at Precision Chassis Works)
Drivetrain/Brakes:
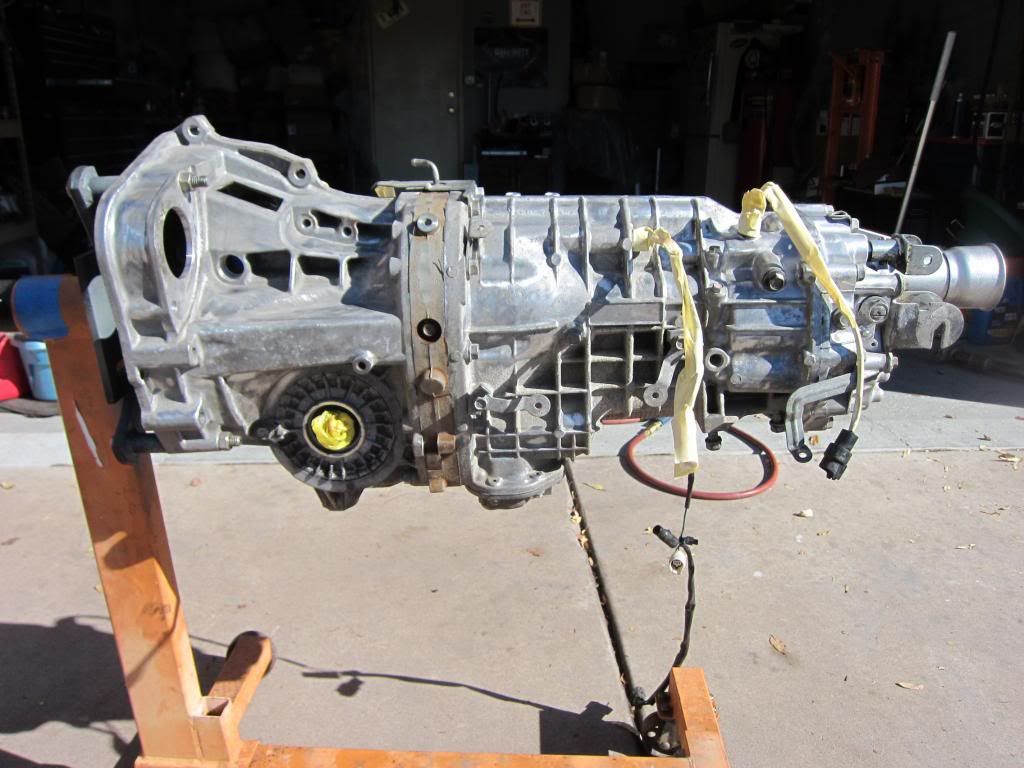
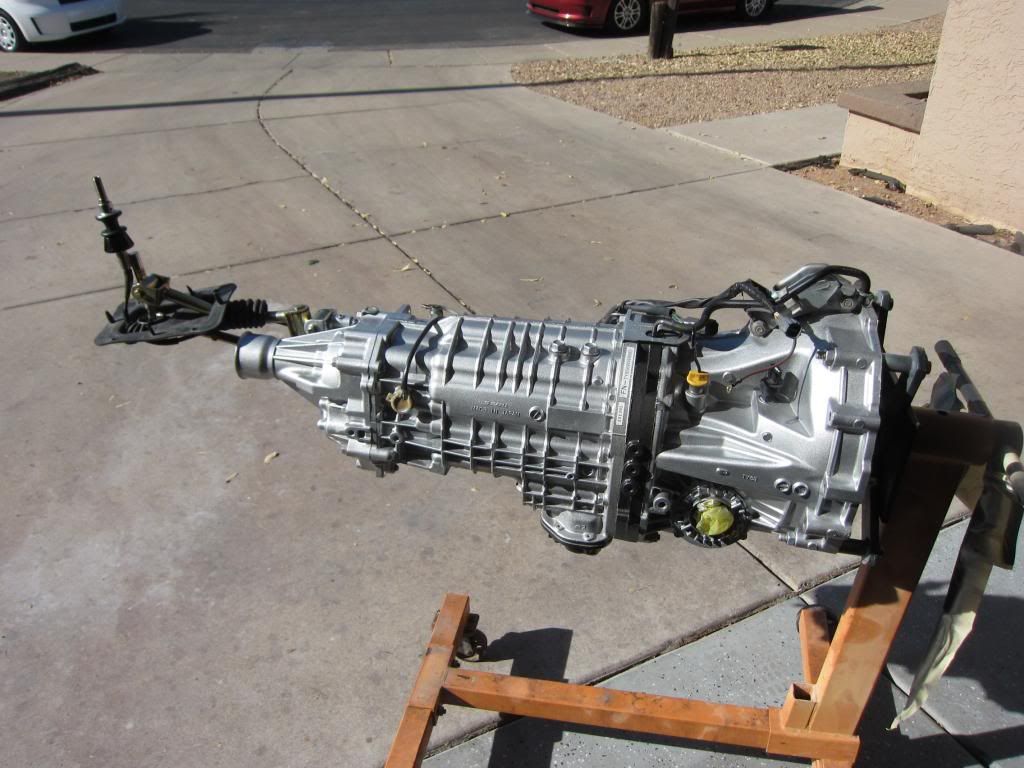
2007 STI 6 speed trans
Motul Gear 300 (Trans)
Subaru Extra-S (Rear)
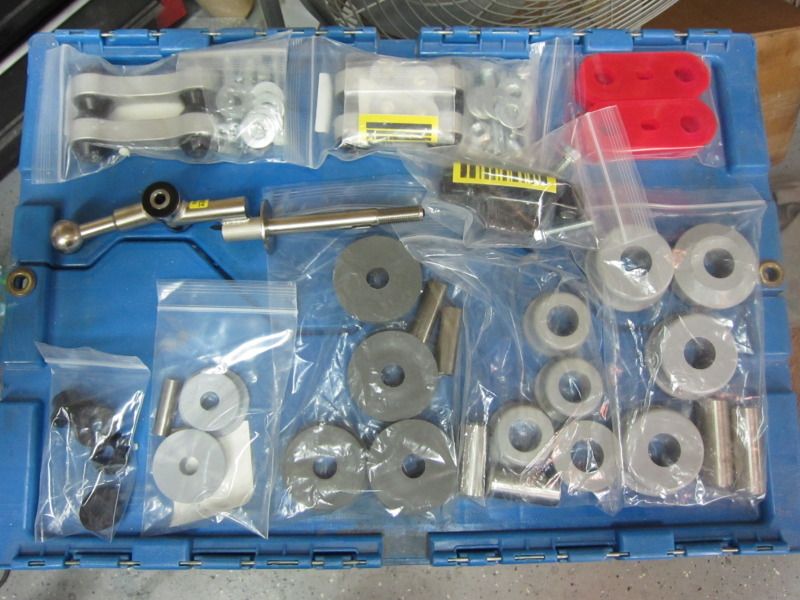
TiC Trans crossmember bushings
5x114 hubs (Completely rebuilt)
ARP extended Studs
Muteki SR48 Open Lugnuts
STI axles (rebuilt)
R180 (cleaned up)
Kartboy/TIC shifter and all the bushings for the shift
Kartboy Pitch Mount
STI Brembos Calipers (Completely rebuilt)
STI Master Cylinder and brake booster
Grimmspeed Master cylinder brace
Clutch Slave w/ Dampener Valve Delete
FXT frame spacer deletes
Suspension/Steering:
KW V3 with rear linear spring conversion
MSI front camber plates
Custom made Fender braces (Done by Kent at Precision Chassis Works)
2007 STI Front Subframe
2007 STI Steering Rack
Flat 4 Motorsport Power steering line kit (High and low)
2005 STi Rear Subframe
TiC Diff mount bushings
Whiteline Lateral Links
Whiteline Roll center kit
Whiteline Steering Rack Bushings
STi Aluminum Control Arms
Cobb 25mm Sway bars
Kartboy Endlinks
TiC Front and rear Trailing arm bushings
Kartboy out rigger bushings (comfort)
Exterior:
2010 STI Mirrors
Ravspec Carbon Fiber front lip
2005 Forester Tail lights
Interior:
2010 STI airbag
GT Spec D shape steering wheel (blue stitching)
2006 STI front seats
Sea-scooby Sub box
Alpine 8" Type R sub
Alpine sub amp
soundstream 4 channel amp
Misc:
19x8.5 Prodrive GC-014i
Bridgestone RE11s 245-35-19
Open end Lug nuts
Lots of powder coating
![Image]()
Mods that will be going into the car (as of right now 10/5)
Motor:
Built SB (balanced crank,balanced Manley rods, Manley pistons, King race bearing)
JDM Twin scroll Header/up-pipe
Kinugawa 18g billet wheel Twin Scroll turbo
HOA 3 port boost solenoid
Walbro fuel pump
ARP Head studs
ID1000s
Walbro 255 pump
Coswoorth timing belt guide
Gates racing timing belt/kit
2011 STI TMIC
SPT turbo heat shield (if it works over the TS setup)
Kartboy Crank pulley
Mishimoto Alum radiator (wrx/sti spec)
Mishimoto Slim Fans
Mishimoto Radiator Hoses
Mishimoto TMIC Hoses
Megan Racing/Group-N Engine mounts
Moroso Oil pick-up tube
Motive Autowerks TGV deletes
Perrin Turbo Inlet (worst fitting thing on my car)
Kinugawa/Invidia custom Twin scroll Downpipe (Done by Kent at Precision Chassis Works)
Custom Catback exhaust with a 5" round Magnaflow muffler in midpipe and 18" oval Magnaflow, with all V-band clamps (Done by Kent at Precision Chassis Works)
Drivetrain/Brakes:
2007 STI 6 speed trans
Motul Gear 300 (Trans)
Subaru Extra-S (Rear)
TiC Trans crossmember bushings
5x114 hubs (Completely rebuilt)
ARP extended Studs
Muteki SR48 Open Lugnuts
STI axles (rebuilt)
R180 (cleaned up)
Kartboy/TIC shifter and all the bushings for the shift
Kartboy Pitch Mount
STI Brembos Calipers (Completely rebuilt)
STI Master Cylinder and brake booster
Grimmspeed Master cylinder brace
Clutch Slave w/ Dampener Valve Delete
FXT frame spacer deletes
Suspension/Steering:
KW V3 with rear linear spring conversion
MSI front camber plates
Custom made Fender braces (Done by Kent at Precision Chassis Works)
2007 STI Front Subframe
2007 STI Steering Rack
Flat 4 Motorsport Power steering line kit (High and low)
2005 STi Rear Subframe
TiC Diff mount bushings
Whiteline Lateral Links
Whiteline Roll center kit
Whiteline Steering Rack Bushings
STi Aluminum Control Arms
Cobb 25mm Sway bars
Kartboy Endlinks
TiC Front and rear Trailing arm bushings
Kartboy out rigger bushings (comfort)
Exterior:
2010 STI Mirrors
Ravspec Carbon Fiber front lip
2005 Forester Tail lights
Interior:
2010 STI airbag
GT Spec D shape steering wheel (blue stitching)
2006 STI front seats
Sea-scooby Sub box
Alpine 8" Type R sub
Alpine sub amp
soundstream 4 channel amp
Misc:
19x8.5 Prodrive GC-014i
Bridgestone RE11s 245-35-19
Open end Lug nuts
Lots of powder coating